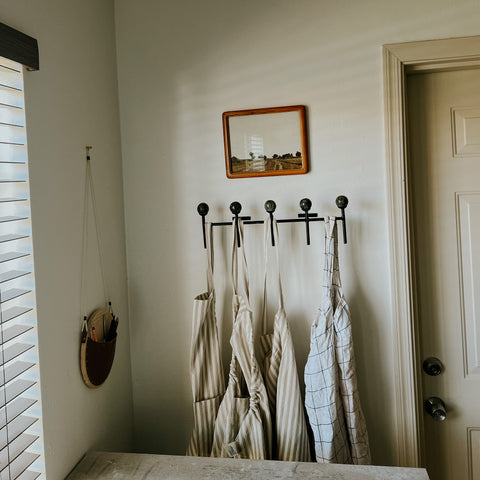
Her Name Is Mud Ceramic Studio Tour
A safe place for creative refuge and reflection
I remember sitting in an art history class in 2007 and hearing a line from Virgina Woolf "A woman must have money and a room of her own if she is to write fiction" Woolf 1935, p.5 A Room Of One’s Own
I’ve thought about these words often particularly when getting ready to call a new place home.
I recently learned while reading How They Decorated, Inspiration from Great Women of the Twentieth Century by P. Gaye Tapp that is was Madame De Pompadour who wanted a place for privacy without the display and intrigue of Louis XV’s court life. This was the beginning of a place that was designed for seclusion, independence, personal amusement and respite. This was the beginning of a woman’s independence in defining a space at home that was reserved for creative expression and a narrative of personal taste.
I have always found value in having a little space of my own from the time I began my creative career, beginning with a small desk in art school that housed my ceramic ambitions and the work for my BFA. During these years I was newly married and I had claimed the closet in the second bedroom of our apartment. I pinned inspiration on the walls, burned screen prints in the dark closet with a single bulb and reclaimed the screens in our bath tub. I have always had a little parcel to call my own even if it was just a little table wherever I have called home, and that has brought a particular kind of refuge.
When my husband and I hoped for a fourth child we had to seriously consider the space we had at our home since I choose to have my studio space at home while my children are little. It became clear that there wouldn’t be room for both a growing family and a growing business at our current home. I looked at my blush penny tiled studio of 3 years and knew it was time to move on. I don’t know if I properly had time to thank that room for all that it was to me. For the growth and exploration it allowed me to have as an artist, I made and learned a lot of beautiful things there often in the early morning hours or while I watched the tree outside my window dance and cast dappled light on my work tables.

When it became time to work out the new studio space I considered the pain points of my previous studio (as in “what a serious pain in the rump that was, we have to figure out a new way!”) but also who I am now as an established artist. The house we bought was being renovated and I had to make some rushed decisions before we had the baby, decisions that would later be changed as I considered how I actually wanted my space to feel. At one point I considered lively wallpaper but knew that I would probably grow tired of the pattern and wished to make a canvas that could be adapted easily for the whims of new work. So I stripped everything back and know it will fill itself with time.
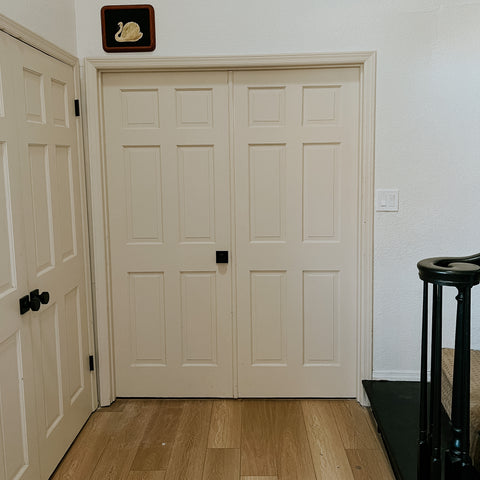
Here are a few “before” photos, the previous owners left this furniture for me wasn’t that nice ( insert eye roll)

this is the corner where the cabinets will go

Work We Did To Renovate The Space of the New Studio on Adobe Street :
-Walls were smoothed to fix wall paper removal seams
-Sconces were removed and the wall was patched because this space had been a formal dining room
-We changed out the light fixture with this one that I purchased for my other studio but when it became clear we would be moving I saved it for this new one.

-The walls were painted Alabaster by Sherwin Williams, the tray ceiling had been purple and with it now painted white I adore this feature.
-The trim was painted Roman Plaster by Behr
-We cut a space for a door and moved the electrical work so I could to go directly out to the kiln yard and garage storage space from my studio.

-We trenched 80 feet in the front yard to run electrical for my kilns (of course the electric box was on the other side of the house!)

-We installed cabinetry and a stone countertop which were originally going to be painted Lichen by Farrow and Ball but then because of a paint shortage and the painter’s shortened time constraints, I changed the cabinet color to Escape Gray by Sherwin Williams which wasn't gray at all but more of a celadon green color which was lovely in theory but began the color and light troubles. It just didn’t feel right. 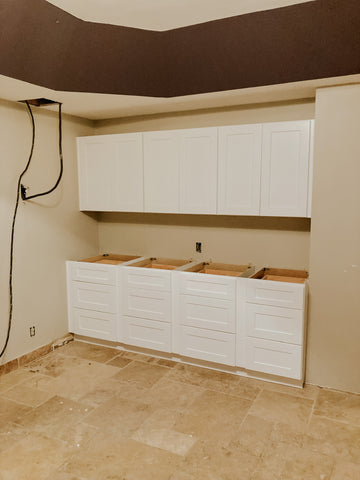
the white cabinets before they were painted

Painted Escape Gray by Sherwin Williams (which I think we can all agree is very much a celadon green, very ceramics nerd of me to accidentally choose that!)
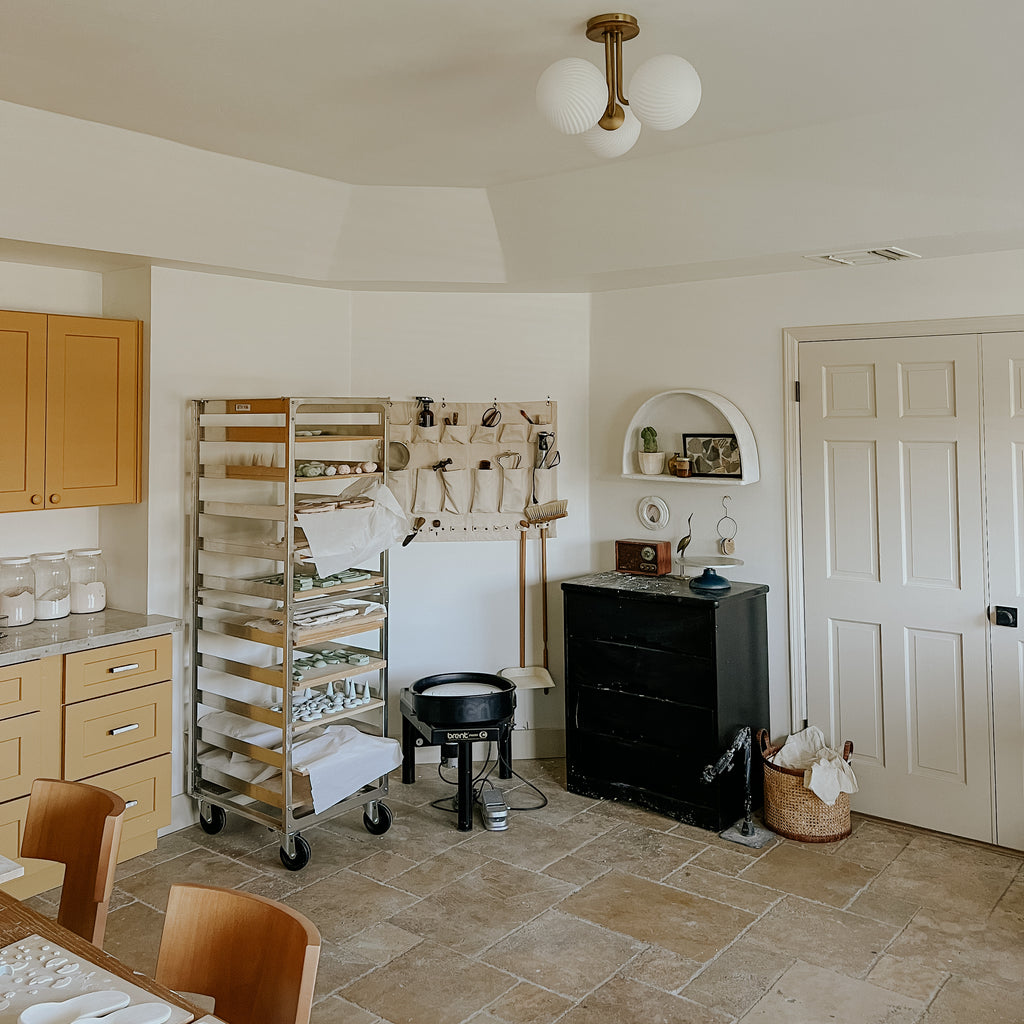
-I considered built in drying racks in the angled cove area but decided to wait until I had worked there to see how the flow went and I’m glad I did. That space is now one of my favorite corners.

First Priorities:
-My three work tables which fit PER-FECT-LY under the windows which are optimal for photo taking and documenting my days. My studio faces North and that light is just *chef’s kiss*
-I felt overwhelmed with decisions I had to make in a short amount of time especially since we were doing the main renovations in the studio along with the rest of the house so I opted for a blank inspired canvas that I could begin adding personality and memories to.
-Light and color a place for my creativity to be bold
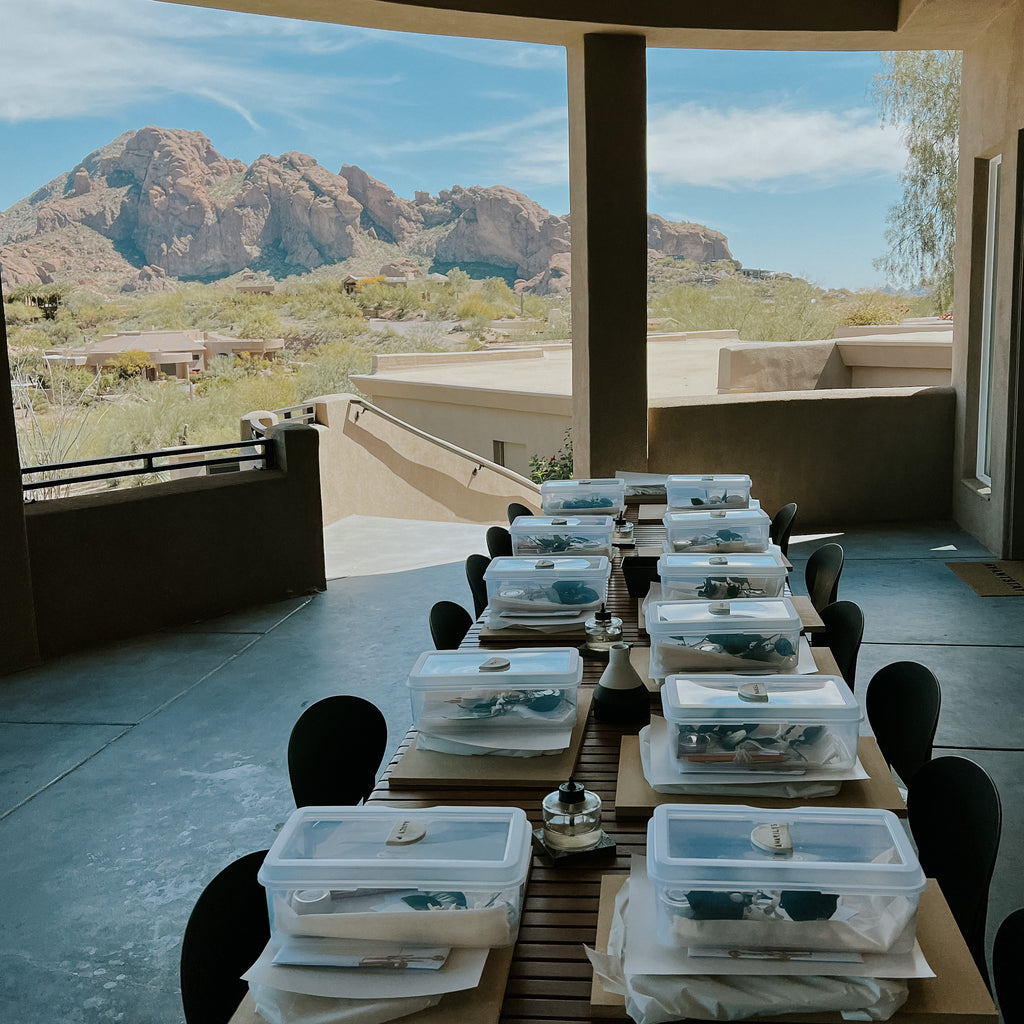
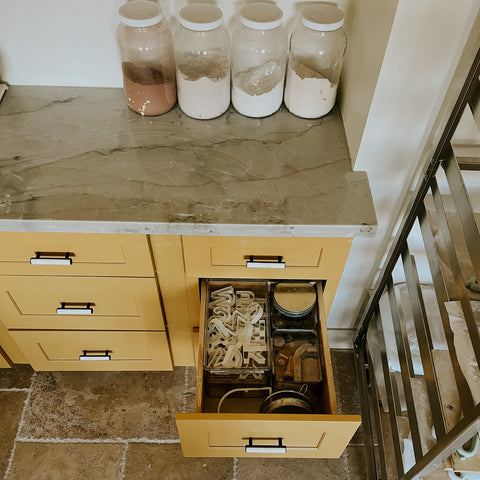
-Optimized storage in the drawers and cabinets by using these clear organizing bins in different sizes, my studio is larger than my other one plus I have two of the garage bays but the storage situation wasn't as efficient so I worked on a solution
-I wanted a space for packing and finishing pieces which was a huge problem for us as the other studio
-Hardware is like the jewelry of a room, I thought my selections would add some personality but they had to be changed when it became clear the quality wasn’t great and the handles kept breaking! bad news was they had already drilled the holes!


The Overarching Feeling I Hoped For:

One morning when I was up early with my baby I came into the front room to see this golden glow coming from the sun through the windows and I knew that is how I wanted this studio to feel, like a golden glow radiating from the work that I made here. A comfortable confidence. Golden Hour always. It feels like a studio that has grown up, settled into itself and knows what it needs to make beauty. A resonating spirit of creativity. We can only be who we are and I find this idea by Beata Heuman an award winning British interior designer to be just the words I needed :
“It can be pretty irresistible when you see the unabashed, true character of another individual. It may be very different from yours, but it is all the more alluring for it. Therein lies the secret of any work of art that touches me, books that make me think, rooms that linger in my mind, and people whose spirit intrigues me.It resonates, but is at the same time something so innately other from yourself; and the only way to fully experience it is to spend time with that person or thing.” Beata Heuman p. 9, Every Room Should Sing
I knew the cabinets needed to be repainted as annoying as that was and it turns out, I needed to order new hardware, less pretentious- maybe? The green cabinets were a color I loved on its own (I even made a custom tinted clay this exact color a couple of years ago, that's how much I like it!) and in theory if you start with something beautiful shouldn't it all work out? One of the main problems was the green paint reflected a kind of sickly, cold green light all hours of the day and I kept trying to make it work but when I would come into the studio every time it just didn't feel right. I kept saying I can't work in there with that light and I didn’t have any motivation to keep unpacking and begin designing a collection!
My husband and I bought a paint sprayer and repainted the cabinets, perhaps laughing and swearing in equal amounts because an artist and a man who has worked in construction, property management, and real estate should be able to handle a little DIY painting project but newborn life mixed with a general attitude of : “we hate this and we should have called Primo who could have painted these in two hours” made sure the “little” project lasted about a week!

The perfectly golden ochre paint I chose was India Yellow by Farrow and Ball. Does my color choice surprise you?!

Pieces I repurposed and pieces I purchased:
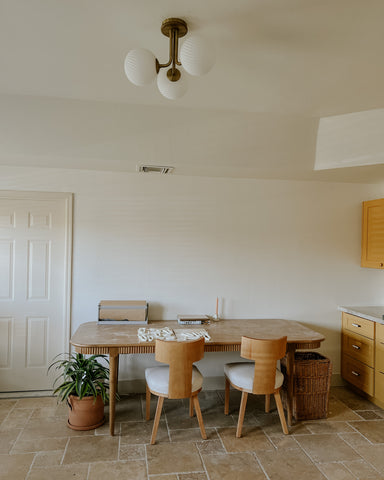
I purchased this cerused oak table and two sculptural chairs, at my other studio it was a major growing pain to have to pack orders in my kitchen. It took over everything [particularly around the holidays so this table is meant for packing orders, finishing things like assembling my ceramic paint brushes, admin work, working through designs and translating sketchbook inspiration, my studio manager Maylee and I have Monday meetings here and sometimes lunch together here.
I wanted a curio cabinet but haven't been able to find a vintage one I loved quite yet and fits in this space, but I needed something to hold some larger tools like my hand held clay extruder and work bowls that didn't fit in the cabinets so I repainted a dresser that I have used in three of my four childrens’ rooms. The color is Pitch Black by Farrow and Ball, I hoped it modernized the space a bit and anchored this corner, I love what black accents do for a room.
I purchased this bakery cart and it's amazing. I wheel it to the door and have a shorter distance to go to the kilns with fragile things. It also fits my workboards that I use for workshops so I didn't have to get anything extra. It also has what I call a jacket so I can drape the plastic jacket over it to help things dry more slowly and evenly. I have another drying rack in the garage and a few more shelves if I need some overflow space with larger projects.
The floors. I did NOT want these tumbled travertine stone tiles in my studio but was going to cost around $12,000 to $15,000 to replace with the labor to demo the stone, grind and level the floor again, purchase the new product, and install the new floor tiles. I knew I was going to be going on maternity leave and it just didn't seem like a wise or necessary investment at the time. So I made do, I changed my perception of them. I habitually thought about them in a beautiful way even if they weren’t what I would have selected and this beautiful thing started to happen…I actually kind of really like the floors now. They give my studio this earthen, English sort of vibe. I love natural elements like wood and stone and ceramic in a space and they have a really good feeling about them. I tried to adjust the other design elements to compliment them and I think once the cabinets were a warmer yellow, and a few modern touches they really began to sing!!! The stone + clay also means there are more petrichor scentings which I find a comforting smell. How we think about our space matters and I learned a valuable lesson that gratitude for what we have brings an incredible mindset to our lives.
Projects to come:
I do not have a sink in my studio. I don't mind one not being in my space because they can be stinky, much like a pond would smell because clay sometimes sits in there until you get around to cleaning them out ( washing clay down your sink will cause havoc on your drains and pipes!!) I use work bowls and then wash them out with a hose in my yard or plug my utility sink in the laundry room and clean things and then after clay sediment settles I clean the clay out of the sink.
I am meeting with a plumber to talk about the possibility of having a special sink installed in the garage. We would have to cut into the concrete and also figure out the drain situation but it's something I would like to save for and figure out because I think it would help with our efficiency and work flow.
TILES!! I am going to be making them for the backsplash in between the cabinetry once we begin the O’Keeffe Collection again at the end of May because I will be using that clay body for the tiles. I’m currently working in porcelain and those two clays aren’t to be mixed so I’ll finish up my porcelain work and then prepare for tile making and be sure to document the process. I designed these tubular tiles that will add some lovely texture to that area.


-In time, and most likely after my children have grown to more independent ages I would like to figure out a way or a space that is more community oriented . A place for teaching.For gathering. For hosting brunches, lunches, and dinners. For listening to music loudly while we talk on nights I open the studio for friends and stimulating conversations. A place more like a salon in Paris during the 20’s. Someday. I’m saving for it and speaking it into existence.

All rooms ought to look as if they were lived in, and to have so to say, a friendly welcome ready for the incomer.
William Morris
Elements I recommend for making a studio space full of personality and usefulness
(because I would not claim to be so bold as to tell another artist what to put in their space to reflect their own creative spirit but these few things have seemed to make appearances in each of my creative spaces)
-
My sister once told me that I am very good at finding beautiful things to hide the mess, I was flattered and have leaned into that. Collect jars, baskets, wall organizers that are both lovely and useful for holding and displaying studio materials and tools

-
A visual reminder of your “why” or perhaps your goals. I keep a photo of me and my kids in the studio together (although I need to update this with baby Harrison)

-
A wall calendar, Maylee and I add to this and go over our calendar each month. We add things like “Maylee out of town” or “fire the workshop pieces” ; it helps us work in an orchestrated way even though clay can sometimes be unpredictable, communicate with each other, and meet deadlines. I also have a desk calendar pad we assign weekly tasks on so we can split up the things that need our energies and attention, each one better suited to our skill sets and natural inclinations. We visualize our goals and work backwards with small daily tasks to achieve them.
-
Something made by an inspiring friend. Keep your friends with whom you hold a creative kinship very close. It’s very endearing to walk by something made by a friend and say “Hello Nadine!” and send them loving thoughts.
-
Something made by you maybe even from a different era to see how far you’ve come as an artist. Celebrate your progress and journey as an artist. Make and keep things just for you.
-
Something green to tend to and add vibrancy and life to your space, plants are friends.
-
A signature scent I love these room sprays by PF Candle Co for instant scent transportation but my signature scent I burn in the studio is armitage street by Wax Buffalo

I leave you with this my friends to consider as you design your own spaces whether for the time being that is in a closet in your spare bedroom or you are building the creative space of your dreamS, I edited the John O’Donohue blessing for a home with bracketed words so you may consider these words for your own creative space.

May this house [ INSERT CREATIVE SPACE HERE ] shelter your life.
When you come home [WORK] here,
May all the weight of the world
Fall from your shoulders.
May your heart be tranquil here,
Blessed by peace the world cannot give.
May this home [STUDIO] be a lucky place,
Where the graces your life desires
Always find the pathway to your door.
May nothing destructive
Ever cross your threshold.
May this be a safe place
Full of understanding and acceptance,
Where you can be as you are,
Without the need of any mask
Of pretense or image.
May this home be a place of discovery,
Where the possibilities that sleep
In the clay of your soul can emerge
To deepen and refine your vision
For all that is yet to come to birth.
May it be a house [PLACE] of courage,
Where healing and growth are loved,
Where dignity and forgiveness prevail;
A home [SPACE] where patience of spirit is prized,
And the sight of the destination is never lost
Though the journey be difficult and slow.
May there be great delight around this hearth.
May it be a house [REFUGE] of welcome
For the broken and diminished.
May you have the eyes to see
That no visitor arrives without a gift
And no guest leaves without a blessing.
Continue reading