Tips For Teaching A Ceramic Workshop

MAKE WORKSHOP KITS THAT CAN BE REPURPOSED FOR DIFFERENT OFFERINGS.
After each each workshop tools I wash and dry the tools and then store them in lidded bins in my studio storage. I don't mix them in with my personal tools so I know when I go to teach the next workshop I can "shop" for the right set of tools and reassemble what we need from my kits.
CONSIDER COMMUNAL vs. INDIVIDUAL TOOL SETS


WHAT SHALL I CALL YOU?
THE PART WHERE WE MAKE NAME TAGS FROM THE CLAY BODY YOU WILL BE USING

5- Bringing a sample of their glaze choices on the clay body you are using is also a helpful visual for your workshop students.

WELL WHAT SHOULD WE MAKE?

Ornaments
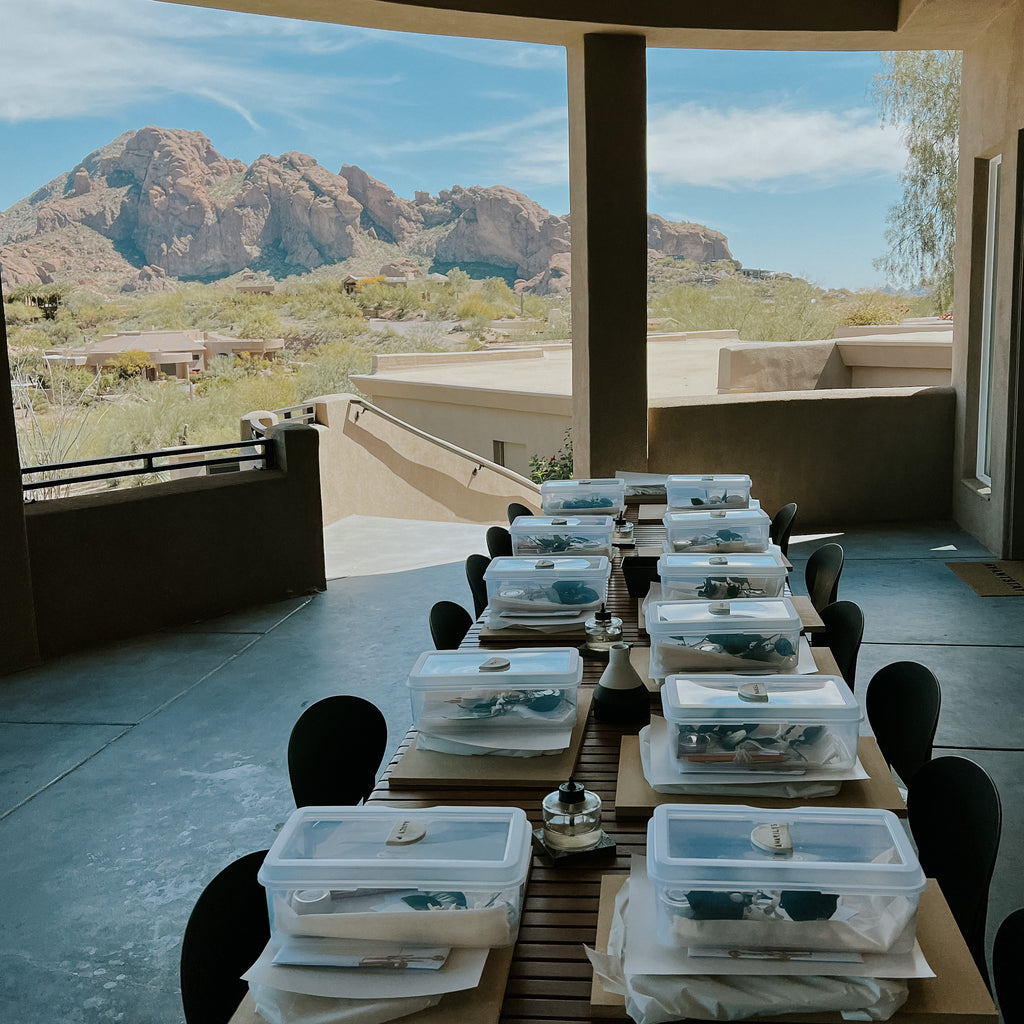
THE PRECARIOUS PART...HOW WILL YOU GET THE GREENWARE BACK TO YOUR STUDIO TO BE FIRED?
I ordered boxes that serve as containers for their individual tool sets on the way to the workshop and on the way back to the studio they act as the transportation protection and also a means to keep their work separated from the rest of their workshop mates.

SOOO ARE YOU COMING TO ME OR AM I COMING TO YOU?
RETURNING THE WORK.
Will you arrange for pick up at your studio? How about meet back at the place where you had the workshop? Is mailing an option? I have preferred mail for most things in part because many times I have people from out of town who attend the workshop. If you are able to make a piece before the workshop this will give you a good idea how much the piece and its packing material can weigh if you were to add the shipping material to the price of the workshop.
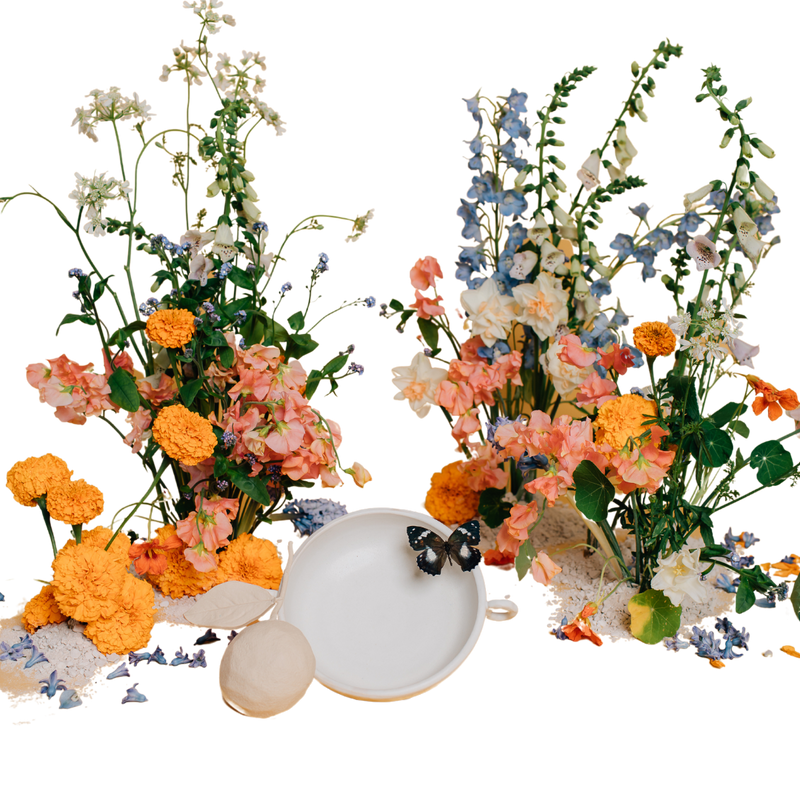
AN ELEMENT OF MAGIC


I always like to imagine ways to make a workshop feel extra special. In my studio I keep a box of bits and bobs, beads and geometric shapes, left over silk ribbon from other projects. I sometimes begin here when thinking of ways to make a little magic. For my most recent workshop almost all of the attendees were from out of town and I wanted them to experience a piece of the desert in the spring, I did a little foraging in my yard and clipped branches from my orange tree that had blossoms in full bloom. When they opened their tool boxes, the most delightful smell greeted them, a few women even rolled the blossoms into their clay to leave an imprint. For holiday workshops I have dried grapefruits for a bit of festiveness, just a few little details make the workshop feel magical.
A LITTLE SOMETHING FOR YOUR ATTENDEES
In gratitude I like to give a little gift to those who made the arrangements to be with me at the workshop that day. I usually use this as an opportunity to introduce everyone to a new artist or small business.

HAVE YOU CONSIDERED COLLABORATION OR THE NEED FOR BACKUP?
Another idea if you'd like a larger workshop but are feeling overwhelmed at the idea is to ask another creative friend to run a workshop with you. For instance I taught a holiday ornament making workshop and I felt overwhelmed at teaching a larger group at the time but the interest in the class was so great that I collaborated with my friend who was a florist and she taught half of the class to make wreaths and I taught half of the to make ornaments and then we switched and she taught the people who had just been creating ornaments and I taught those who had just finished their wreaths. Each person left with a wreath and I finished their ornaments a couple weeks later and shipped them.

HAVE YOU SEEN THE VENUE?
WELL THAT MADE QUITE THE MESS!
Because your tables and chairs are most likely going to be rented or a surface where after your workshop other events or food will be present, consider ways to keep the space clean or bring things along to safely clean up the mess that was made. Canvas or rolls of muslin used as a table cloth is a look I am fond of and doubles as a workable surface. Vintage table clothes, or linen table cloths that can be washed after the event are also things I have used to cover the work space.

YOU ARE ONE OF A KIND
Consider the things that you do well as an artist and teacher and play to those strengths when designing your workshop experience. Find help in the areas you lack and hire out elements that could help you reserve your reneger for the things you do best.
ONE LAST WORD OF ADVICE
Be sure to photograph these moments as you step into a new role or arrange for a photographer to document the workshop so you can remain focused on your guests . This will help you market your next workshop and help you keep those memories. The meeting of beautiful souls and finding a place of connection will be some of the most beautiful moments of your career.
I say photograph the event but also before you pack up any work photograph each person's work space and their pieces all together so you are able to match or puzzle together the correct pieces for each person when you return back to the studio to begin the firing. I also include a piece of paper for them to write their name and how many piece they made, their address if shipping, how many pieces in total they made, and any specific glazing instructions for me.

LINKS FOR FEW FAVORITE WORKSHOP ITEMS
+My work boards are particle board that I asked the home improvement store to cut on site. My boards are 12x18 and I think we got 10 from a larger board. this is the 3/4 " but the 1/2 "works well too and will save you about $10.
+Favorite alphabet letters for embossing and signing their pieces. I prefer these to the kind that are yellow and purple those are hard to cut and separate the letters, those yellow ones are smaller and you can't join them together like you can these. Also rubber stamps work but they so often leave the shape of the stamp. these are very clean and easy to use. I use them in my own studio.
+Cutters. These pastry cutters are in my opinion the only ones worth buying. I no longer use metal cutters if it can be helped because they rust and later their shape, its harder to get wet clay to release from them as well. These are thick nylon that can hold up to cutting thicker slabs, clean up well and come in their own case. A few other fun shapes. I personally love the moon shape. I have sets I use for my own studio work too.
+The prettiest scissors for cutting patterns
+My favorite ribbon tool for carving and extracting clay
+Compact white sponges because I have a problem with bright yellow sponges when I'm trying to stick with my brand vibe, also we are trying to get them to use as little water as possible so a smaller sponge reminds them that its really just for a little wiping or to clean their hands.
+My favorite brushes of all time, useful for glazing, applying slip or underglaze or cleaning up hard to reach seams.
+One of my favorite finishing touches is a colorful bit of silk, Tono + Co is my favorite place for their brilliant hand dyed colors and one of my favorite tips is to go to their odds and ends section where you can get such good deals on pieces of silk that you can then use to add some color and character to your workshop either tying them around tool bundles or around a gift or a canvas tablecloth to work upon.
+Large rolls of canvas for cutting into place mat sizes or putting on the tables to help with the clay mess.
+Linen tablecloths that add such a vibe, a splash of color and help protect the tables you'll be working on.
+Work bowls. Often my tables start to get a little crowded and in my mind I think one bowl of water per person but when we actually start to set up it works out more to like one bowl in-between work stations so 2-4 people end up sharing a bowl. I would love love love to have the time to create bowls for a workshop, I think it would be such a beautiful touch, but alas I never remember it in time. I recently got a set of these bowls which fit my branding and make the table feel a little special. But first I worked with little clear acrylic bowls I got from the dollar store so this is a place where you can save or splurge but a special ceramic piece on the table for water will be such a moment!
+Dowels do the trick and can be cut down to make make shift rolling pins. I chose to roll my workshop slabs in my studio with my slab roller just to cut out some time and to ensure they were beginning from a nice even clay slab. But French rolling pins are my favorite if you'd like to add some of those to your kit. This is also a chance to do a bit of thrifting and find some older rolling pins that can have a second life rolling clay slabs instead of pie crusts and you can usually pick them up for a few dollars.
+ Boxes for transporting tools on the way to the workshop and fragile pieces back to the studio. These are only helpful if you will be making smaller pieces that can fit back inside and be protected. I also included a small piece of muslin to wrap the pieces in that doubled as a work space place mat.
Continue reading